Have you tried turning it off and on again?
DuPuis Cloud
A faster, easier way to remotely access the DuPuis server
CLICK HERE to access DuPuis Cloud. You can also get there by clicking the icon at the bottom of this page.
Log in with your regular DuPuis username and server password.
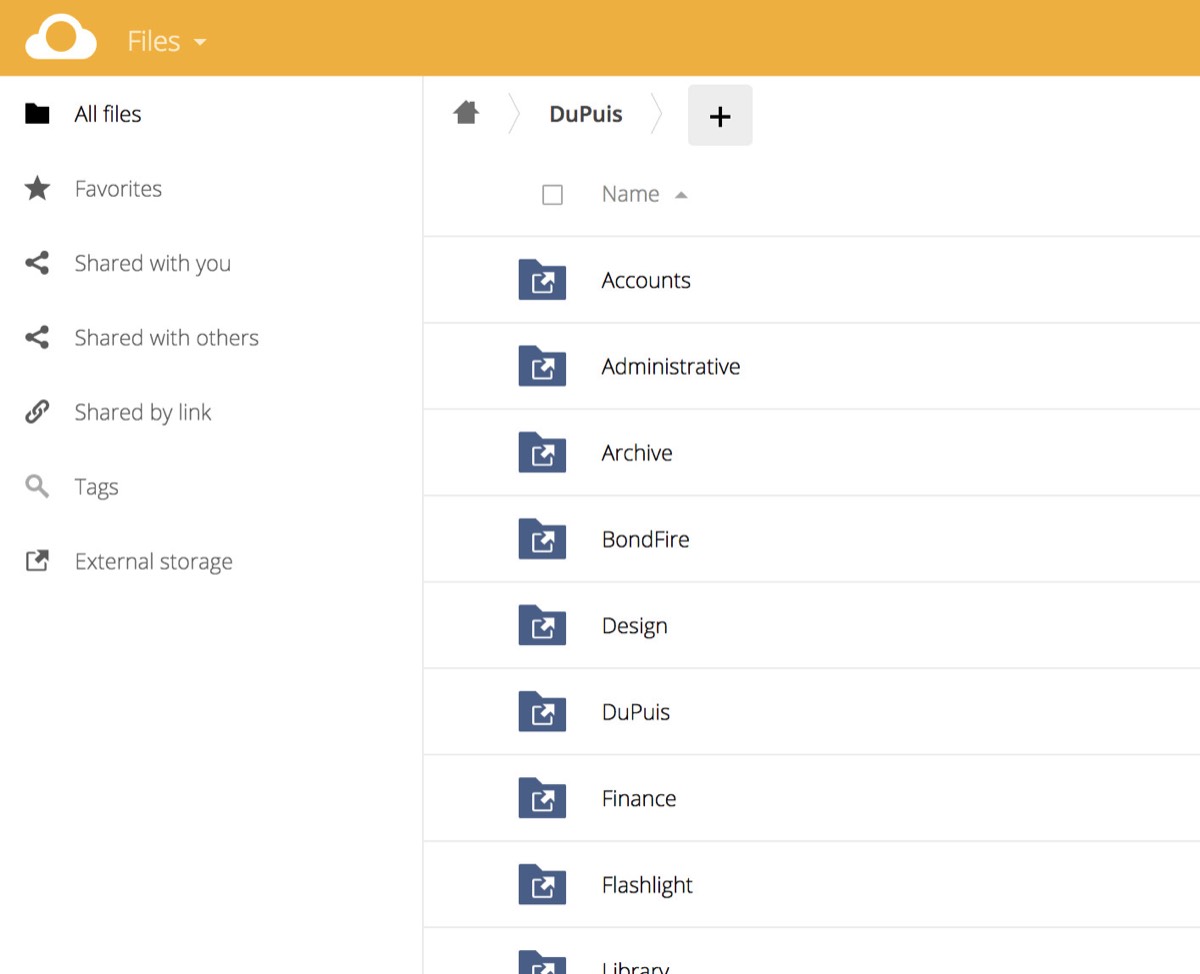
- Click on "DuPuis" to find the usual server list [Design, Production, Flashlight, etc.].
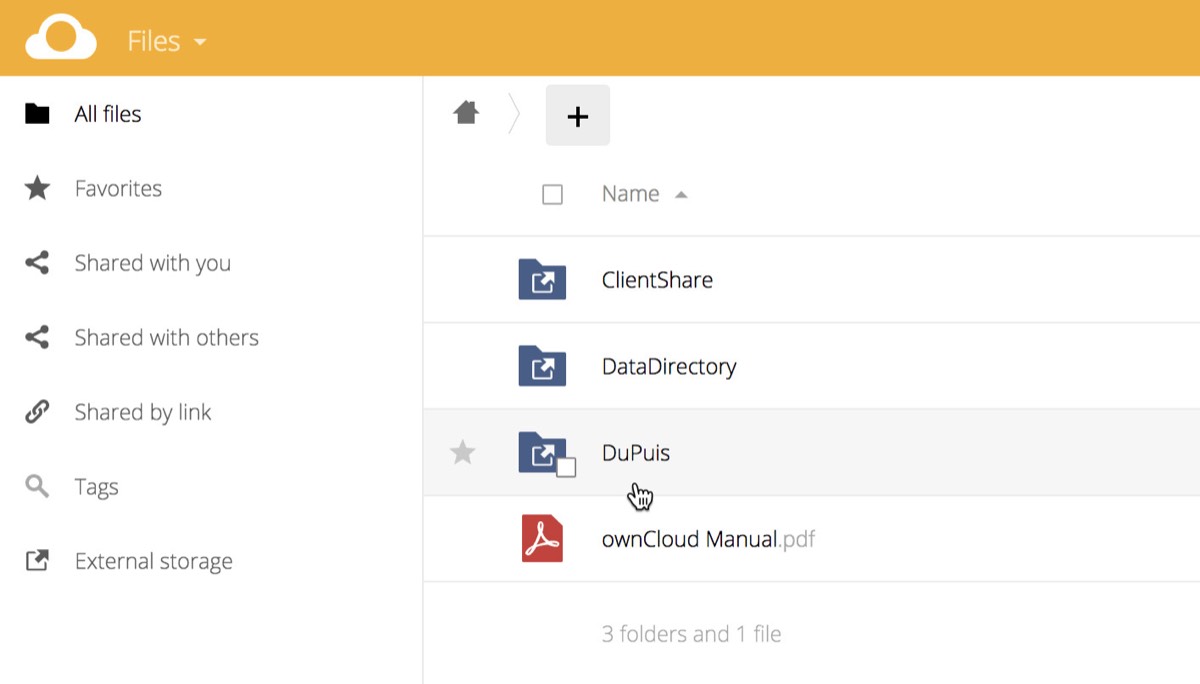
- NOTE: To go into a folder, click on the name of the folder, not the folder icon. Clicking the icon selects the folder (for tasks like moving and downloading), and clicking to the right of the folder name displays information about the folder.
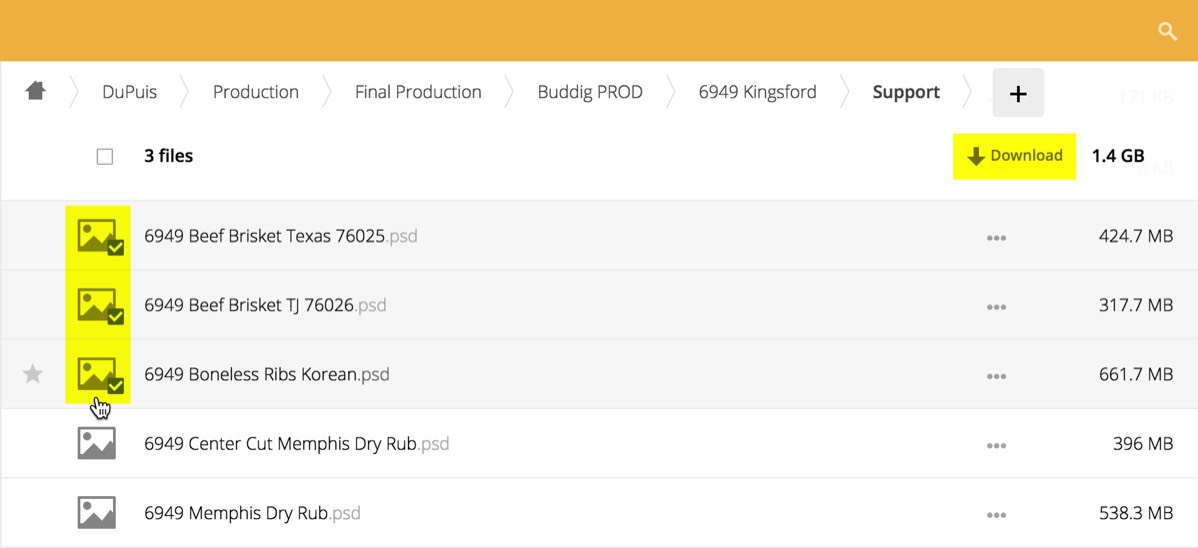
As you navigate through the server, a file path is displayed at the top of the list to enable you to go back to a parent folder. Alternately, you can use your browser's Back button to go to a previous folder.
Click on the icon to go back to the root level of the server.

Select one or more files/folders by clicking on their file icons.
Click the Download button over to the right.
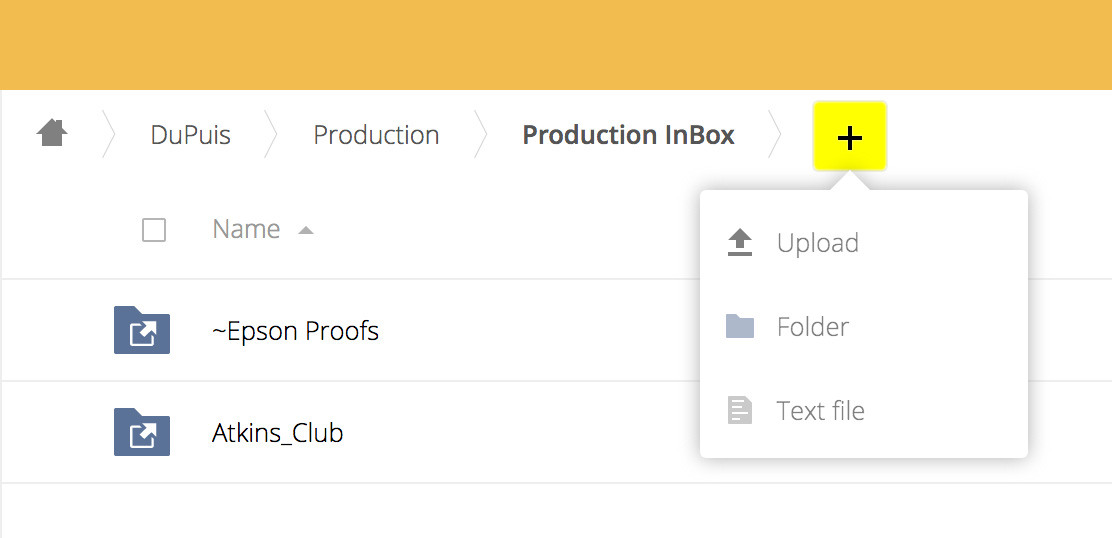
Navigate to the folder where you want your upload to go.
Click the icon to the right of the file path and select Upload. Navigate to the file you want to upload.
Alternately, you can drag the file(s) from your Desktop into the browser window.
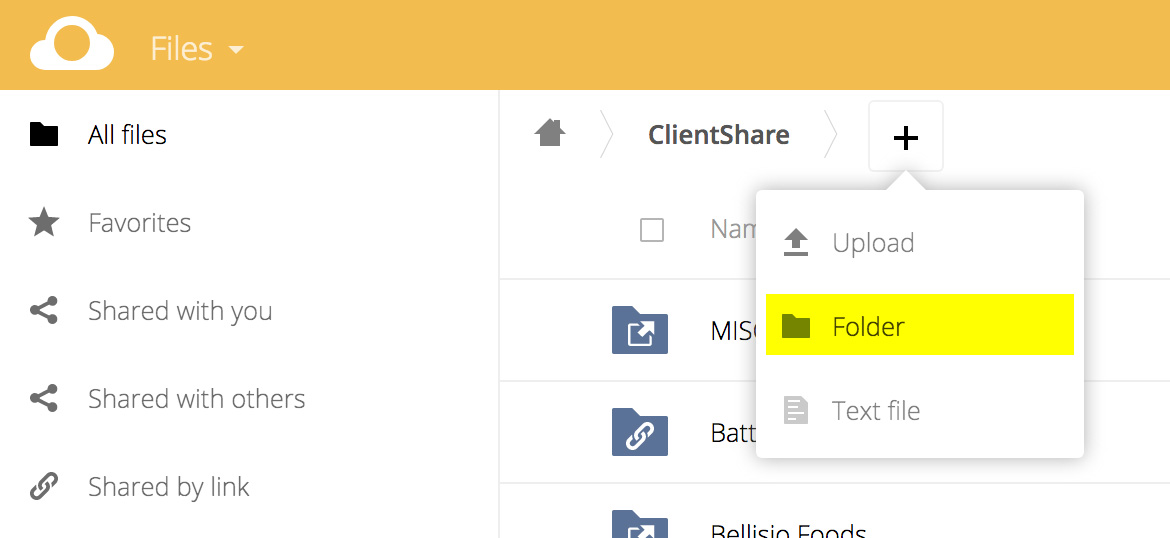
Upon entering the site, or via the icon, locate and enter the ClientShare folder.
IMPORTANT: All uploads belong inside of either a client folder, or the MISCELLANEOUS folder. No loose files on the root level of the ClientShare folder, please and thank you.
If your client folder doesn't already exist, create a new one by clicking the icon to the right of the file path and select Folder.
Client folders should be organized the same way they are in the Design area — by job number, if applicable — so repeat the process above to create a job folder inside the client folder if one doesn't already exist.
Upload the file(s) you want to share as described above.
Once uploaded, find the file/folder you want to share, then click the icon next to its name to access the Sharing options.
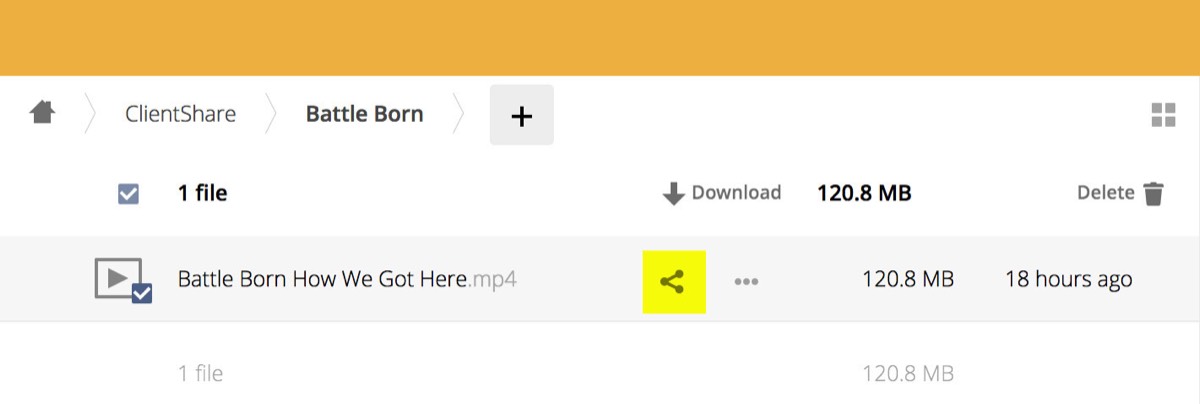
Click the Share link button to share the file/folder.
Copy the link to paste into an email for your client.
Click the Set expiration date button and set the date to a month away.
IMPORTANT: The ClientShare folder is not a permanent storage area, and files more than 30 days old will be deleted. Please inform your clients.